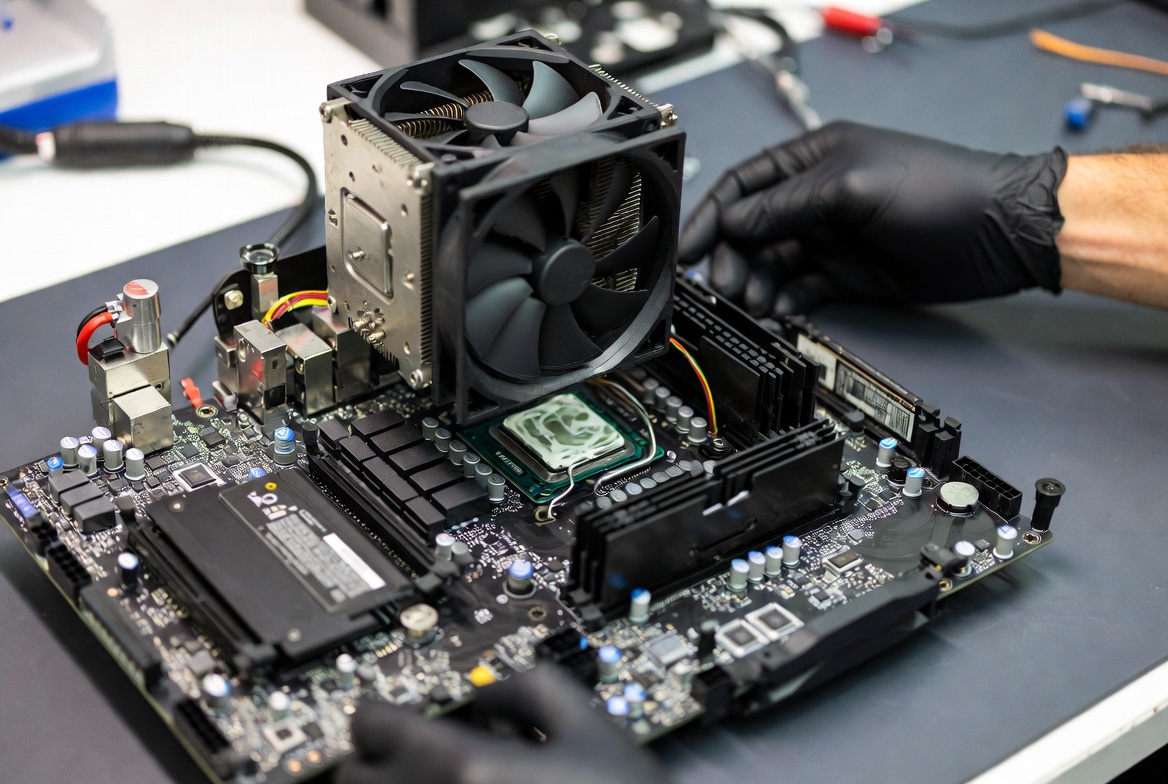
Upgrading a CPU cooler should lower temperatures and improve performance, but sometimes the opposite happens. After installing a new cooler, users may notice higher CPU temperatures, thermal throttling, louder fan noise, or unexpected shutdowns. In many cases, the problem isn't the cooler itself—it's improper mounting pressure or poor thermal paste application.
A CPU cooler relies on even contact with the processor's heat spreader to transfer heat efficiently. If the cooler is mounted unevenly or the thermal paste doesn't spread correctly, heat transfer suffers, causing temperatures to rise despite the upgraded hardware. Understanding these common installation issues can help diagnose overheating problems and restore proper cooling performance.
What Problem Is the Customer Facing?
After upgrading a CPU cooler, the system may experience:
- Higher CPU temperatures than before
- Thermal throttling under load
- Unexpected shutdowns or restarts
- Constantly high fan speeds
- Reduced performance during gaming or productivity tasks
- Temperature spikes immediately after startup
Many users assume the new cooler is defective, but installation-related issues are often the real cause.
Why Does It Happen?
1. Uneven Mounting Pressure
If one side of the cooler is tightened more than the others, the cooler may not sit flat on the CPU surface.
2. Too Much Thermal Paste
Excessive paste can create an insulating layer that reduces heat transfer efficiency.
3. Too Little Thermal Paste
Insufficient paste leaves air gaps between the CPU and cooler, preventing proper thermal conductivity.
4. Incorrect Paste Distribution
The thermal paste may not spread evenly across the CPU's heat spreader.
5. Loose Mounting Hardware
Improperly secured screws or brackets can reduce contact pressure.
6. Protective Film Not Removed
A surprisingly common mistake is leaving the plastic protective film attached to the cooler base.
7. Incorrect Cooler Compatibility
Using the wrong mounting kit or bracket can prevent proper contact between the cooler and CPU.
How Can Customers Identify the Issue?
Common signs include:
- CPU temperatures significantly higher than expected
- Temperatures rapidly climbing under load
- Thermal throttling warnings
- Fans running at maximum speed
- Reduced benchmark scores
- Sudden shutdowns during gaming or rendering
- Temperature differences between CPU cores
Visual Signs During Inspection
Uneven Thermal Paste Pattern
After removing the cooler, the thermal paste should appear evenly compressed across the CPU surface.
Dry Areas on the CPU
Bare spots may indicate insufficient contact pressure.
Excessive Paste Overflow
Large amounts of paste squeezed around the edges suggest over-application.
Tilted Cooler Installation
The cooler should sit perfectly level without visible gaps.
Loose Brackets or Screws
Any movement in the cooler assembly can reduce cooling effectiveness.
Why Proper Mounting Pressure Matters
The CPU and cooler surfaces may appear smooth, but under magnification they contain microscopic imperfections. Proper mounting pressure helps thermal paste fill these gaps while maintaining maximum metal-to-metal contact.
Poor mounting pressure can lead to:
- Reduced heat transfer efficiency
- Higher operating temperatures
- Thermal throttling
- Shortened component lifespan
- Increased fan noise
Diagnostic Process Used by Technicians
A professional diagnosis typically includes:
- Monitoring CPU temperatures at idle and under load
- Inspecting cooler mounting pressure
- Examining thermal paste spread patterns
- Verifying bracket compatibility
- Checking fan operation and airflow
- Confirming BIOS fan settings
- Stress-testing the CPU after reinstallation
Solutions
Reinstall the Cooler
Remove and reinstall the cooler using the manufacturer's recommended mounting sequence.
Reapply Thermal Paste
Clean both surfaces and apply a fresh, appropriate amount of high-quality thermal compound.
Tighten Screws Evenly
Use a cross-pattern tightening method to ensure balanced pressure.
Verify Compatibility
Confirm that the correct mounting hardware is being used for the specific CPU socket.
Check Airflow
Ensure case fans are providing adequate airflow through the system.
Why Choose Guru Computer Solution?
1.Certified Technicians
Experienced in CPU cooling diagnostics and thermal-performance optimization.
2.Professional Installation
Proper cooler mounting and thermal paste application.
3.Advanced Diagnostics
Accurate temperature monitoring and stress testing.
4.Warranty Support
Confidence backed by service warranty.
5.Affordable Pricing
Cost-effective solutions for cooling and performance issues.
Conclusion
A CPU cooler upgrade should improve temperatures, not make them worse. In many cases, overheating after a cooler installation is caused by uneven mounting pressure, improper thermal paste application, or installation mistakes rather than a faulty cooler. Careful inspection of the mounting system and paste spread pattern can quickly reveal the source of the problem.
If your CPU temperatures increased after a cooler upgrade, professional diagnosis can help identify the issue before it leads to throttling, instability, or long-term hardware stress. Guru Computer Solution can inspect, reinstall, and optimize your cooling solution to ensure your system operates at peak performance.