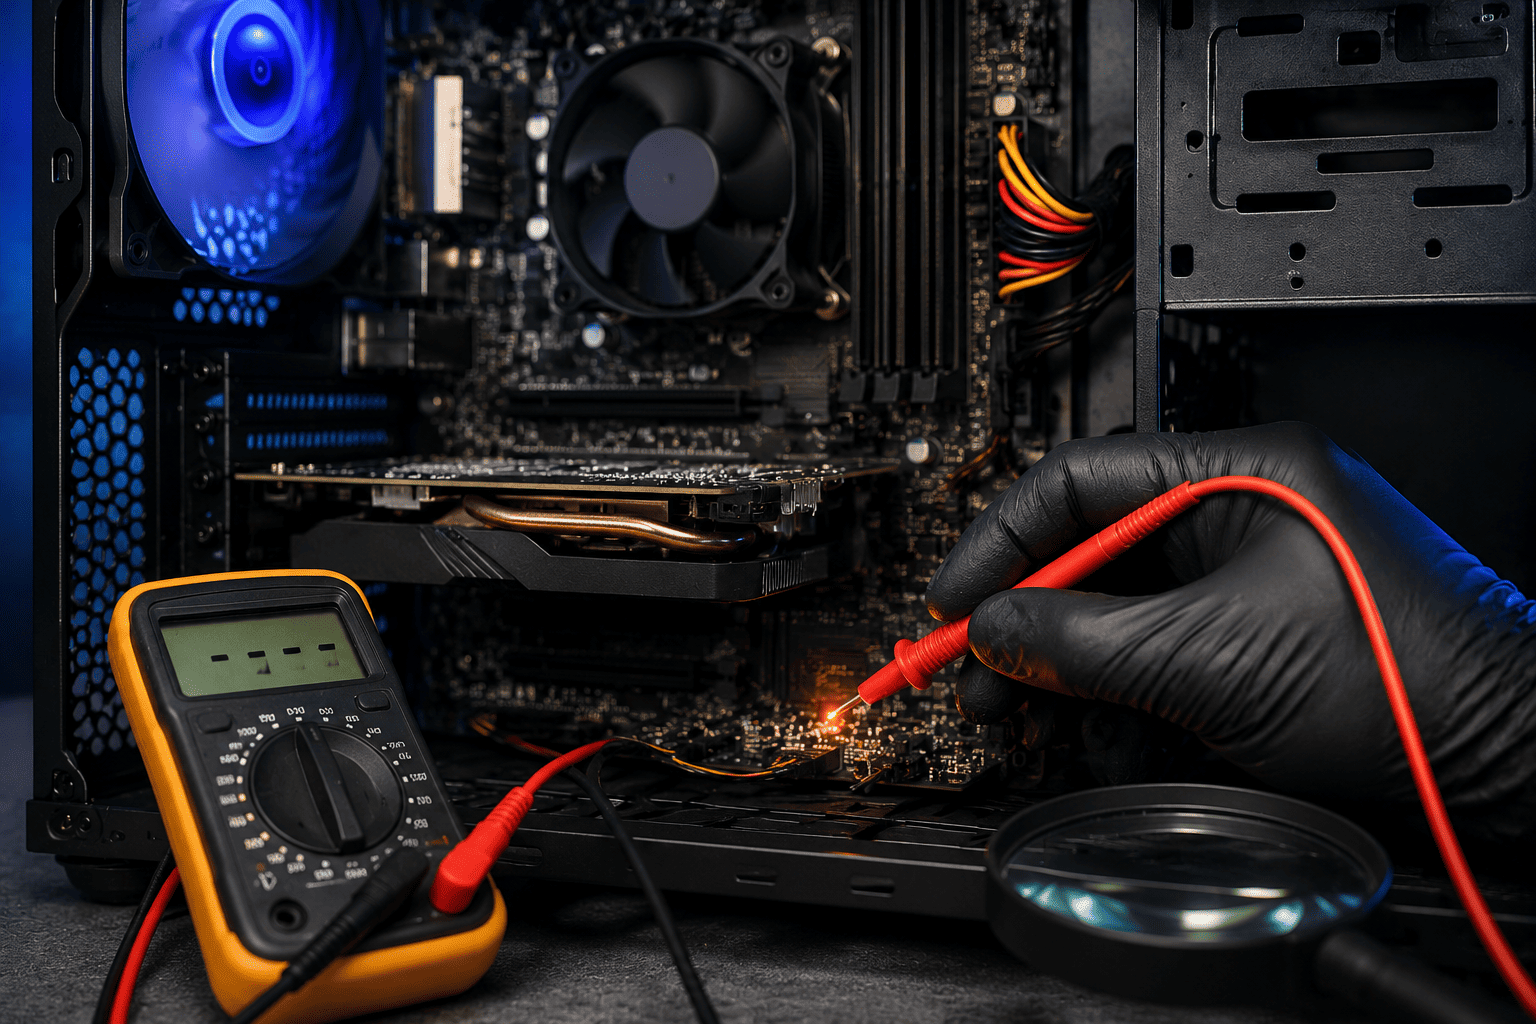
A desktop PC that powers on for only a second or two and then immediately shuts down or restarts can be frustrating. While a short circuit is one possible cause, faulty RAM, CPU power connections, PSU problems, motherboard faults, or incorrectly installed components can produce similar symptoms.
The safest approach is to diagnose the system step by step rather than repeatedly pressing the power button. This guide explains how to identify a possible short circuit and isolate the faulty component without unnecessarily replacing working hardware.
Problem
The PC starts when the power button is pressed, fans may spin briefly, and then the system shuts down or restarts within a few seconds.
In some cases, there is no display, no POST, and no error message. This can happen when the motherboard's protection circuitry detects an abnormal electrical condition.
What Problem Is the Customer Facing?
Customers may experience:
- PC turns on for 1–2 seconds
- Fans spin briefly and stop
- PC repeatedly turns on and off
- No display appears
- No POST screen
- Motherboard debug LED flashes or stays on
- PC shuts down immediately after pressing the power button
- System started doing this after cleaning or upgrading hardware
- Problem appeared after installing a new motherboard or component
- Burning smell or visible component damage in severe cases
A short circuit is possible, but the symptom alone does not prove that a short exists.
Root Causes of the Problem
1. Motherboard Short Circuit
A damaged component or electrical fault on the motherboard can trigger protection and shut down the system.
2. Incorrect Motherboard Standoff
A misplaced or extra motherboard standoff can touch the underside of the PCB and create a short against a circuit trace.
3. Faulty PSU
A defective power supply can shut itself down when it detects an abnormal load or internal fault.
4. Shorted USB Device or Header
A damaged USB port, front-panel USB connector, or internal USB header can sometimes cause a power fault.
5. Loose or Incorrect Power Connection
Incorrectly connected 24-pin ATX or CPU EPS power cables can prevent stable startup.
6. Faulty RAM or GPU
Badly seated or defective components can cause immediate shutdown or repeated restart behavior that resembles a short circuit.
7. CPU Socket or Cooler Installation Problem
Bent socket contacts, incorrect mounting hardware, or an installation problem can prevent successful POST.
8. Damaged Component
A failed capacitor, MOSFET, VRM component, or other motherboard component can create an electrical short.
How Can Customers Identify the Issue?
Look for:
- PC powers on briefly and immediately shuts down
- Repeated power cycling
- Fans stop after a few seconds
- No display
- No POST
- Motherboard diagnostic LED indicates CPU/DRAM/VGA
- Problem began after hardware installation
- USB device causes the shutdown
- Burning smell
- Visible damage on the motherboard
- PC behaves differently outside the case
Possible Solutions
1. Turn Off and Unplug the PC
Disconnect AC power before inspecting internal components.
If there is a burning smell, smoke, or visible electrical damage, do not continue powering the system on.
2. Disconnect External Devices
Remove unnecessary USB devices, external drives, hubs, and other peripherals.
Then test the system again.
A damaged external device or USB cable can occasionally cause power-related problems.
3. Check the Main Power Connections
Verify that the following are properly connected:
- 24-pin motherboard power
- 4/8-pin CPU EPS power
- GPU power cables
- PSU AC cable
Never force a connector into the wrong socket.
4. Reseat the RAM
Remove and reinstall the memory modules.
For troubleshooting, test with one compatible RAM module in the motherboard's recommended slot.
If the PC behaves differently, memory installation or compatibility may be involved.
5. Disconnect Unnecessary Components
For a basic POST test, disconnect unnecessary devices such as:
- SATA drives
- Additional PCIe cards
- Extra USB devices
- RGB controllers
- Additional fans
- Front-panel accessories
Keep only the hardware required to attempt POST.
6. Inspect the Motherboard for a Short
Look for:
- Loose screws
- Extra motherboard standoffs
- Damaged PCB areas
- Burn marks
- Broken USB ports
- Foreign metal objects
- Damaged connectors
- Bent components
Pay particular attention to areas where the motherboard contacts the PC case.
7. Test the Motherboard Outside the Case
If a case-related short is suspected, a technician can remove the motherboard from the case and test it on a non-conductive surface with only essential components connected.
If the PC works outside the case but not inside it, the case installation, standoff placement, or another chassis-related issue becomes much more likely.
8. Check the PSU
A PSU can cause immediate shutdown if it detects an abnormal load or has developed an internal fault.
Where appropriate, test with a known-good compatible PSU rather than relying only on basic PSU fan behavior.
Do not open the PSU casing. Power supplies can contain dangerous stored electrical energy.
9. Check CPU and Motherboard Diagnostic LEDs
Many modern motherboards include diagnostic indicators for:
- CPU
- DRAM
- VGA
- BOOT
These LEDs can help narrow down which part of the POST process is failing.
10. Use a Multimeter for Advanced Short Detection
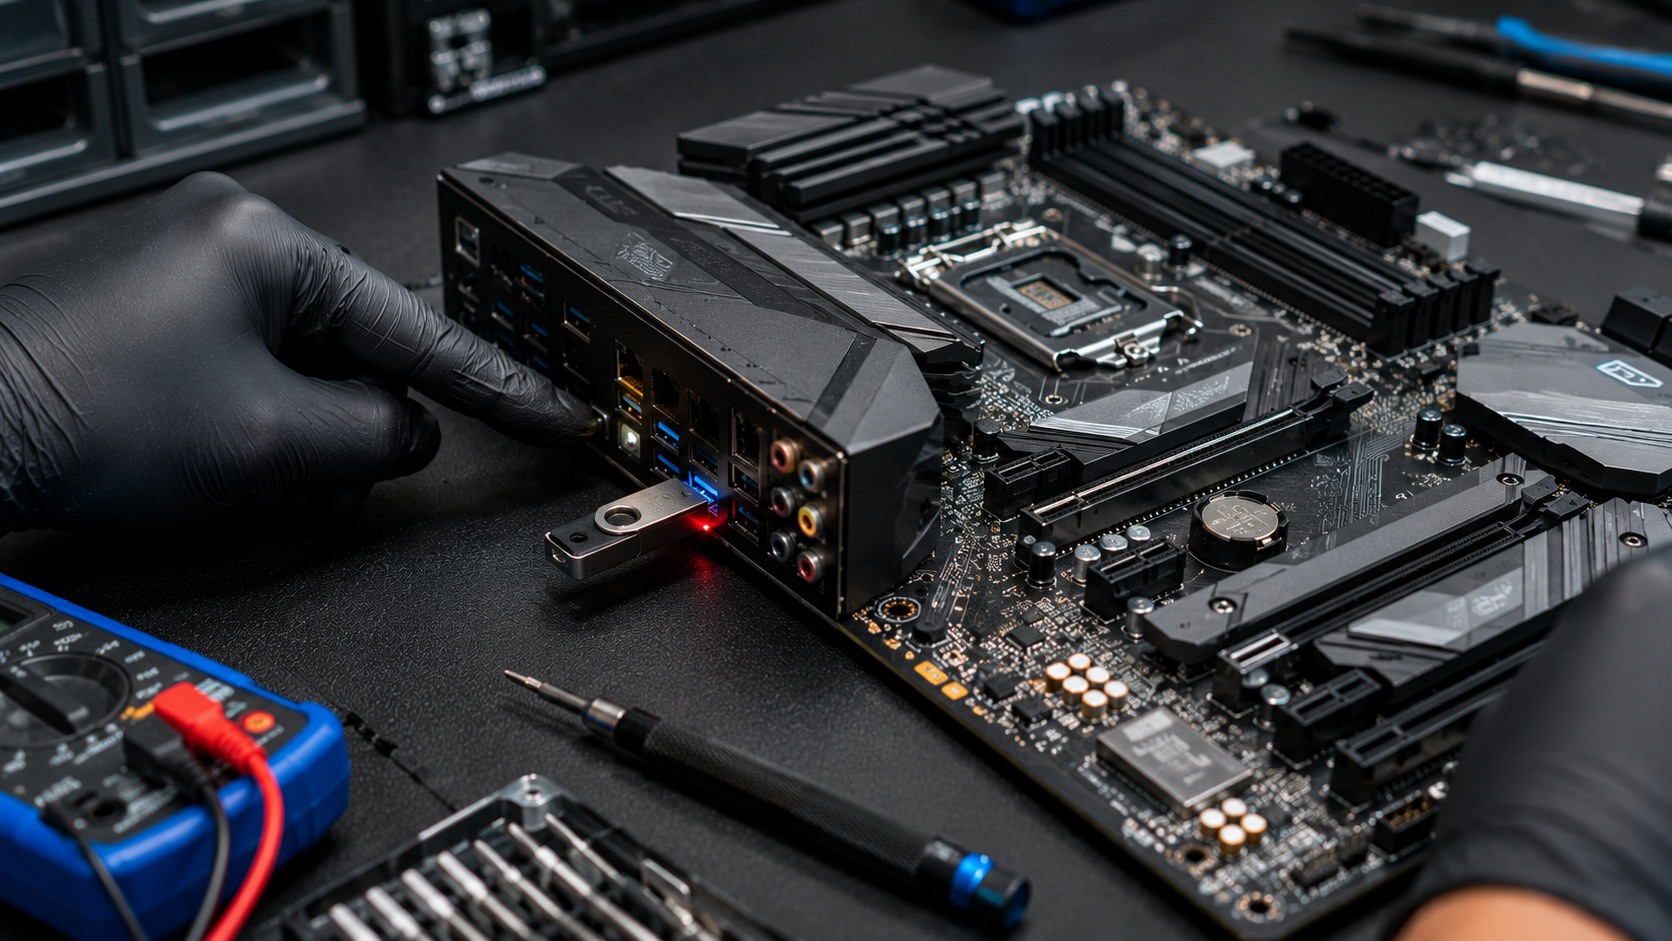
A technician can perform controlled resistance and voltage checks on appropriate motherboard power rails to look for abnormal readings.
However, a low resistance reading alone does not automatically mean a short circuit. Some motherboard power rails naturally have low resistance because of their design.
Short-circuit diagnosis should therefore be performed using proper board-level testing methods rather than simply looking for one resistance value.
11. Inspect the Motherboard at Component Level
If the PC still shuts down after eliminating the PSU, RAM, case, cables, and peripherals, the motherboard may require board-level diagnosis.
A technician can inspect:
- VRM circuitry
- MOSFETs
- Capacitors
- Power rails
- USB power circuits
- CPU power section
- Shorted components
Short Circuit Detection Process
A professional diagnostic process generally follows:
Power off → Remove peripherals → Check cables → Reseat RAM → Minimal POST → Inspect motherboard → Check case/standoffs → Test outside case → Test PSU → Measure power rails → Component-level diagnosis
This approach helps prevent unnecessary replacement of the motherboard, CPU, or PSU.
Why Choose Guru Computer Solution?
1. Certified Technicians
Our technicians diagnose PC power faults systematically to identify the actual cause.
2. Genuine Parts
When replacement is required, we use reliable and compatible components.
3. Fast Turnaround
We perform structured hardware diagnostics to isolate short circuits and power-related faults efficiently.
4. Warranty Support
Eligible repair services and replacement components come with warranty support.
5. Affordable Pricing
We diagnose the faulty component before recommending expensive replacements.