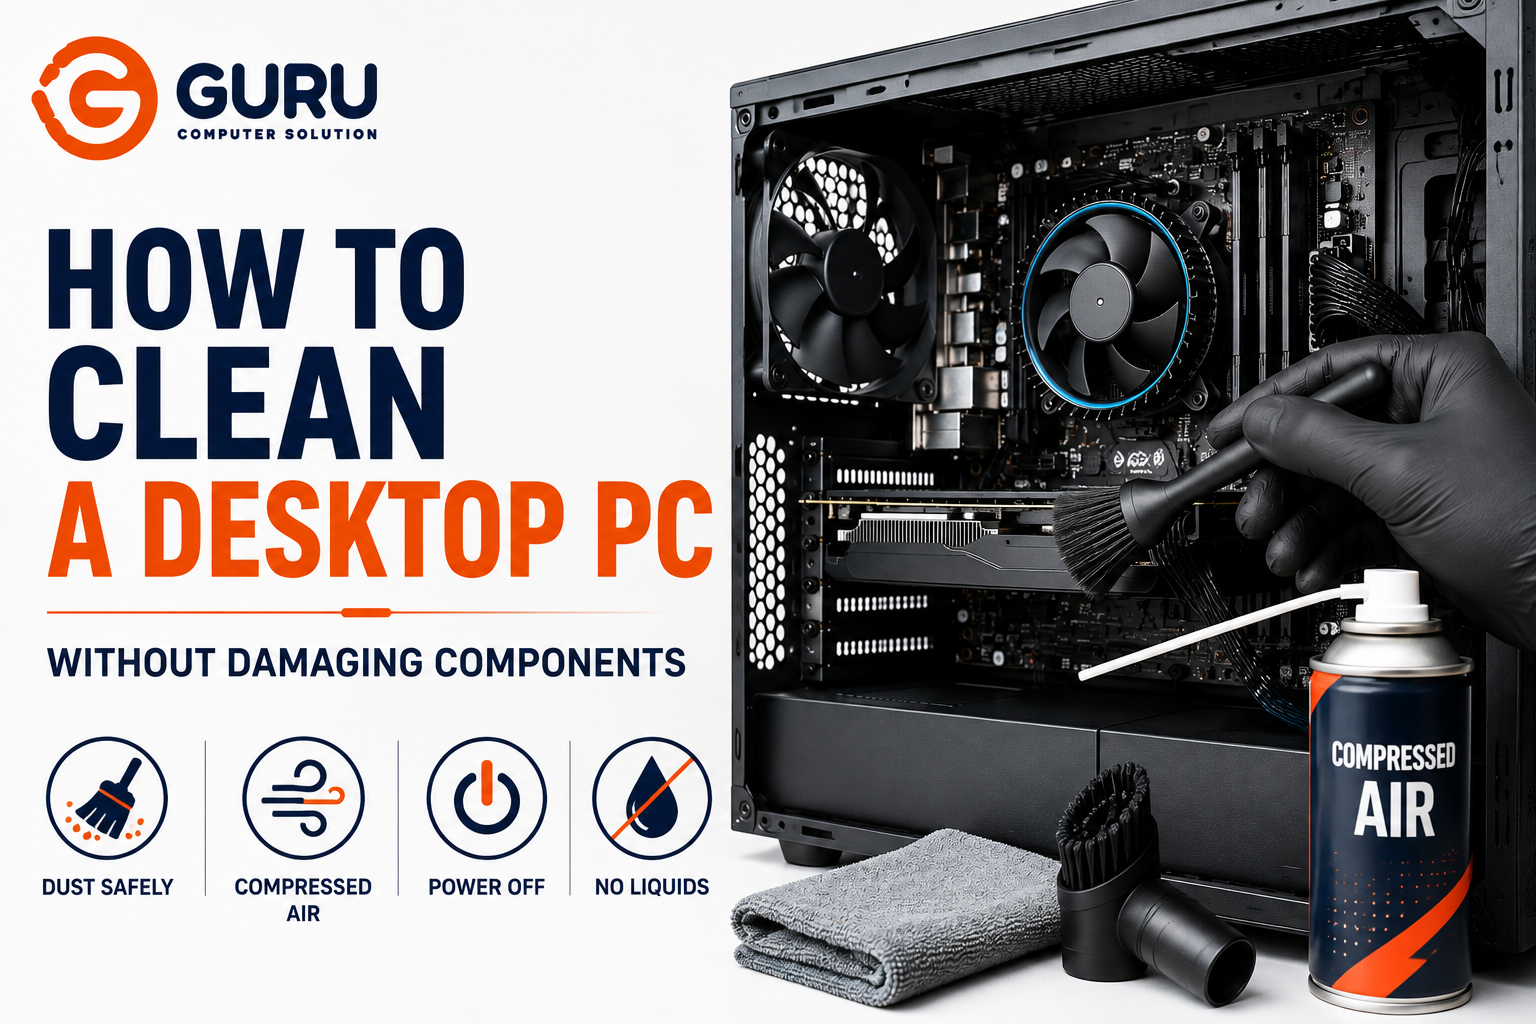
More desktops get damaged during a well-intentioned cleaning than most people realize — not from neglecting dust, but from cleaning it incorrectly. A spinning fan hit with compressed air, a brush dragged across a motherboard, or propellant liquid sprayed sideways onto a graphics card can turn a routine maintenance task into an actual repair. Here's how to do it properly.
Why Dust Buildup Matters Enough to Clean Regularly
Accumulated dust does more than look bad — it insulates components, traps heat, and can eventually cause electrical shorts and corrosion. Left unaddressed long enough, dust-related overheating can contribute to genuine hardware failure, not just reduced performance. Regular cleaning is genuinely preventive maintenance, not cosmetic upkeep.
The Single Most Important Rule: Hold the Fans Still
This is the mistake that causes more accidental damage than anything else on this list, so it's worth stating first. When compressed air or an electric duster is aimed at a fan, the airflow can spin the blades well beyond their normal operating speed. Fans are engineered for a specific rotational speed range, and over-spinning them from an external air blast can damage the bearing inside — sometimes immediately, sometimes as a slow degradation that shows up as noise or failure months later.
The fix is simple: hold each fan still with a finger, a cotton swab, or a plastic tool while directing air through it. This applies to every fan in the system — case fans, the CPU cooler fan, and any fan integrated into the graphics card.
What You'll Actually Need
- Compressed air or an electric duster — compressed air is the more common and cheaper option for occasional use; an electric duster costs more upfront but is reusable, avoids the environmental waste of aerosol cans, and is often more effective for frequent cleaning
- A small, soft brush — a clean makeup or paintbrush works well for dislodging dust in tight spaces before following up with air
- Microfiber cloths — for wiping down fan blades and surfaces after loosening dust, and for the exterior panels
- Isopropyl alcohol (90%+ concentration) — for cleaning grime off non-conductive surfaces, lightly dampened onto a cloth, never sprayed directly
- An anti-static wrist strap (recommended, not strictly mandatory) — reduces the risk of static discharge damaging sensitive components while you're working inside the case
Before You Start: Power Down Properly
Turn the PC off completely and unplug it from the wall — not just shut down, physically disconnected from power. Once unplugged, press and hold the power button for a few seconds. This discharges any residual electrical charge still sitting in the system's capacitors, an easy step to skip that meaningfully reduces risk before you touch anything internal.
Step-by-Step Cleaning Process
1. Move the PC Outside or to a Well-Ventilated Area
Dust blown out of the case has to go somewhere — doing this outdoors or in a garage avoids redistributing it right back into your indoor air and eventually back into the PC.
2. Remove and Clean Dust Filters First
Most case designs include removable dust filters on the front, top, or bottom panels — these catch the majority of incoming dust before it reaches internal components, which is exactly why they're usually the dirtiest part of the entire system. Slide or unclip them out, and wipe or rinse them clean (if using water, make sure they're completely dry before reinstalling — reinstalling a damp filter risks moisture reaching internal components).
3. Open the Case
Remove the side panel screws or latches and set the panel aside somewhere secure. Take a visual look inside before doing anything else — larger clumps of dust visible in corners or along the bottom of the case are worth manually clearing first, since blasting air at them can just scatter loose debris across the motherboard and other components instead of removing it.
4. Clean the Case Fans and CPU Cooler
Hold each fan still (see the rule above) and direct short, controlled bursts of air through the blades and, for CPU air coolers, through the heatsink fins beneath them. Work the air through the fins from multiple angles, since dust tends to mat between them rather than sitting only on the surface. If a liquid cooler is installed instead, focus on the radiator fins in the same way — the pump and tubing generally don't need this kind of cleaning, and shouldn't be disturbed unless you know what you're doing.
5. Clean the GPU
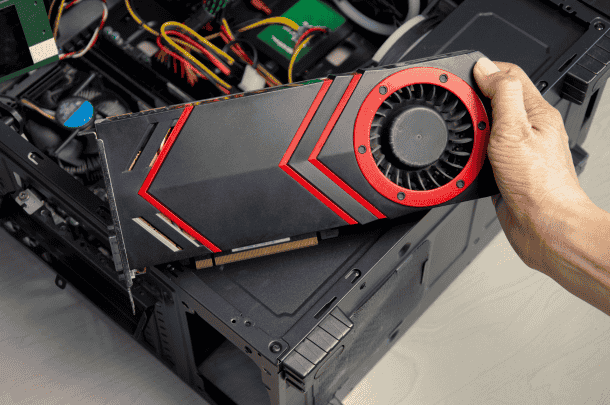
Graphics cards have their own dedicated fans and heatsink, and tend to accumulate significant dust given their position and airflow path. Apply the same rule — hold the fan blades still while blowing air through the heatsink fins. Avoid removing the GPU from its slot unless you're specifically planning to clean underneath it and are comfortable reseating expansion cards.
6. Clean the PSU — From the Outside Only
Direct air into the power supply's external vents to clear dust, but do not open the PSU casing itself. Even fully unplugged, a power supply's internal capacitors can retain a dangerous electrical charge — this is one component where "just cleaning" can genuinely risk injury, not just hardware damage. External vent cleaning is sufficient for routine maintenance.
7. Clean the Motherboard and RAM Carefully
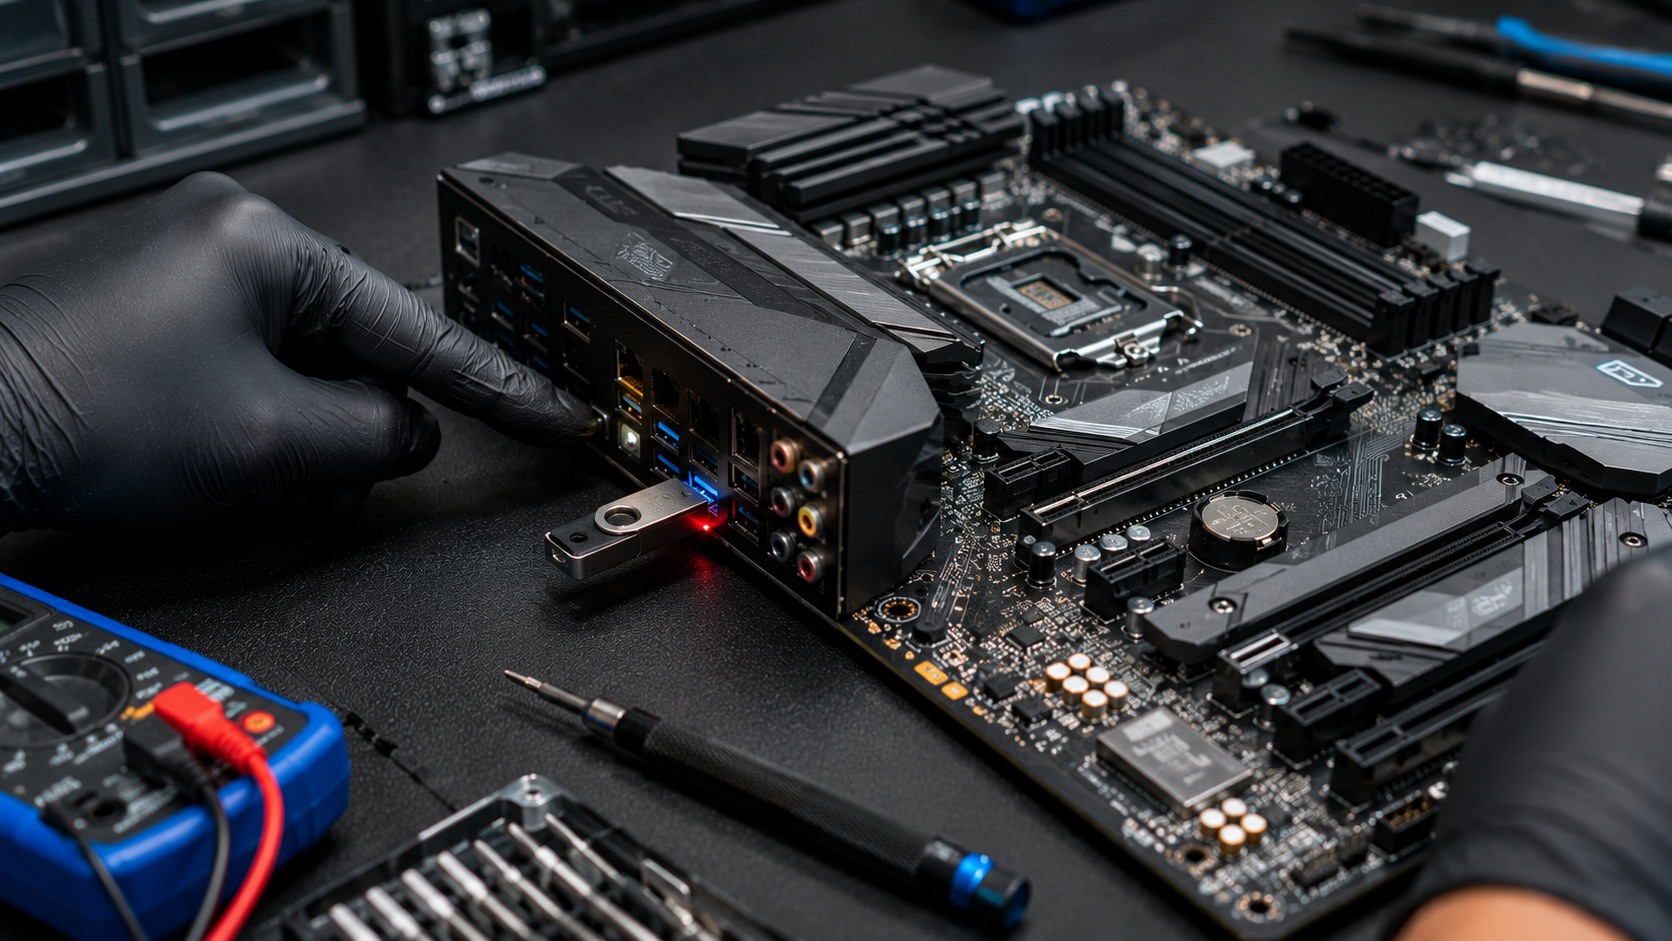
This is the area requiring the most caution. Use only short, gentle bursts of compressed air here — avoid using a brush directly on the motherboard, RAM, or any populated slots, since brush bristles can dislodge or damage small components in a way that air alone won't. The goal is to clear dust without applying any physical pressure to the board itself.
8. Wipe Down Fan Blades and Accessible Surfaces
Once the bulk of loose dust has been cleared with air, use a cloth lightly dampened with isopropyl alcohol to wipe away any remaining grime on fan blades and other accessible surfaces. Keep the cloth genuinely just damp, not wet — excess liquid dripping into sensitive areas is a real risk at this stage, which is why this step comes after the dry cleaning, not before.
9. Dust Storage Drives and Empty Slots
A light wipe with a microfiber cloth is generally sufficient for HDDs and SSDs. Empty RAM slots and drive bays can be cleared with air, handled gently to avoid stressing the connector pins.
10. Wipe Down External Panels and Reassemble
Once the interior is done, wipe the exterior panels, top, and front of the case — a slightly damp cloth is fine for panels without ports, but stick to a dry cloth or paper towel near USB ports and other openings on the front or top of the case to avoid pushing moisture into a connector. Reinstall the dust filters (fully dry), close the case, and reconnect power.
The Mistakes That Actually Cause Damage
Letting fans spin freely under compressed air — covered above, and worth repeating as the single most common cause of accidental damage during a cleaning session.
Tilting or shaking a compressed air can while spraying — canned air needs to stay upright throughout use. Tilting it risks expelling the liquid propellant itself instead of just air, and that liquid can damage electronic components on direct contact.
Using a brush on the motherboard, RAM, or GPU — appropriate for dust filters and case exteriors, but too aggressive for these more delicate components, where compressed air alone is the safer choice.
Opening the PSU casing — never necessary for routine cleaning, and carries real electrical risk given retained charge in its internal capacitors even when fully unplugged.
Spraying liquid cleaners directly onto components — always dampen a cloth first rather than spraying anything directly onto or into the case, to control exactly how much liquid reaches any surface.
Skipping the power-discharge step — holding the power button after unplugging clears residual charge and is a quick, easy step to skip that adds unnecessary risk for no real time savings.
How Often to Clean
Every 6–12 months is a reasonable general baseline, adjusted for your specific environment:
- Dustier environments (pets, carpeted rooms, construction nearby, ground-floor rooms with more foot traffic) warrant cleaning closer to every 6 months
- Systems that run hot or constantly (gaming PCs, workstations under sustained load) pull in dust faster due to higher average fan speeds, and benefit from more frequent attention
- Cleaner, climate-controlled environments with less ambient dust can often stretch toward the 12-month end of that range
Waiting until symptoms (rising temperatures, louder fans, visible dust at the vents) are already obvious means buildup has had significant time to accumulate — a proactive schedule catches it earlier and keeps the process itself quicker and simpler each time.
When to Have a Professional Handle It Instead
- You're not comfortable holding fans still while cleaning, or unsure about your specific case's disassembly
- The system shows heavy internal dust buildup that's been accumulating for years, where a deeper clean (including thermal paste replacement) may be warranted alongside basic dusting
- You notice any physical damage, corrosion, or unusual smell while inspecting the interior, which goes beyond a routine cleaning issue
- You want thermal paste replaced at the same time, since this requires additional care and proper compound that goes beyond a basic dust-clearing session
Why Choose Guru Computer Solution
Thorough, Careful Internal Cleaning Our technicians follow proper procedure for every component — including the caution required around motherboards, RAM, and PSUs — avoiding the common mistakes that cause accidental damage.
Combined Cleaning and Thermal Paste Service Where beneficial, we pair a deep clean with thermal paste replacement, addressing both dust buildup and degraded heat transfer in a single service.
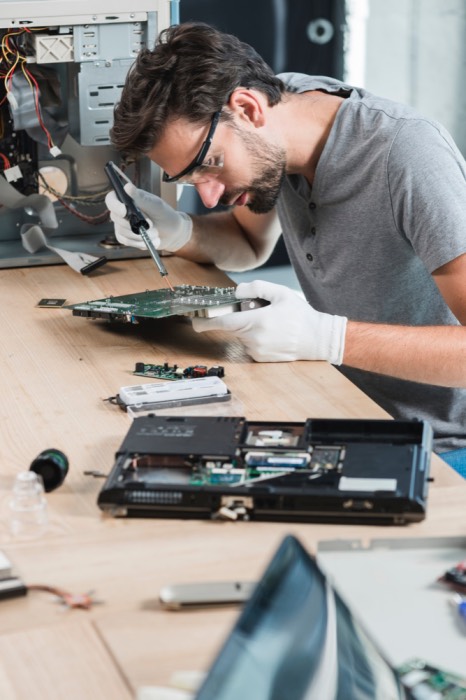
Safe Handling of Sensitive Components We use proper anti-static precautions and appropriate tools for each component type, rather than a one-size-fits-all approach.
Post-Service Testing We verify temperatures and fan behavior under load after cleaning, confirming the service actually improved performance before your system is returned.
Conclusion
Cleaning a desktop PC is genuinely simple maintenance once you know the handful of real risks — an overspinning fan, tilted compressed air, a brush where only air belongs, and an opened PSU casing are responsible for nearly all the accidental damage that happens during otherwise well-intentioned cleaning. Following the correct order, using the right tool for each component, and taking the two minutes for proper power-down and discharge beforehand is the difference between routine maintenance and an accidental repair job.
If your desktop needs a thorough cleaning, or you'd rather have it handled professionally alongside a thermal paste refresh, contact Guru Computer Solution.