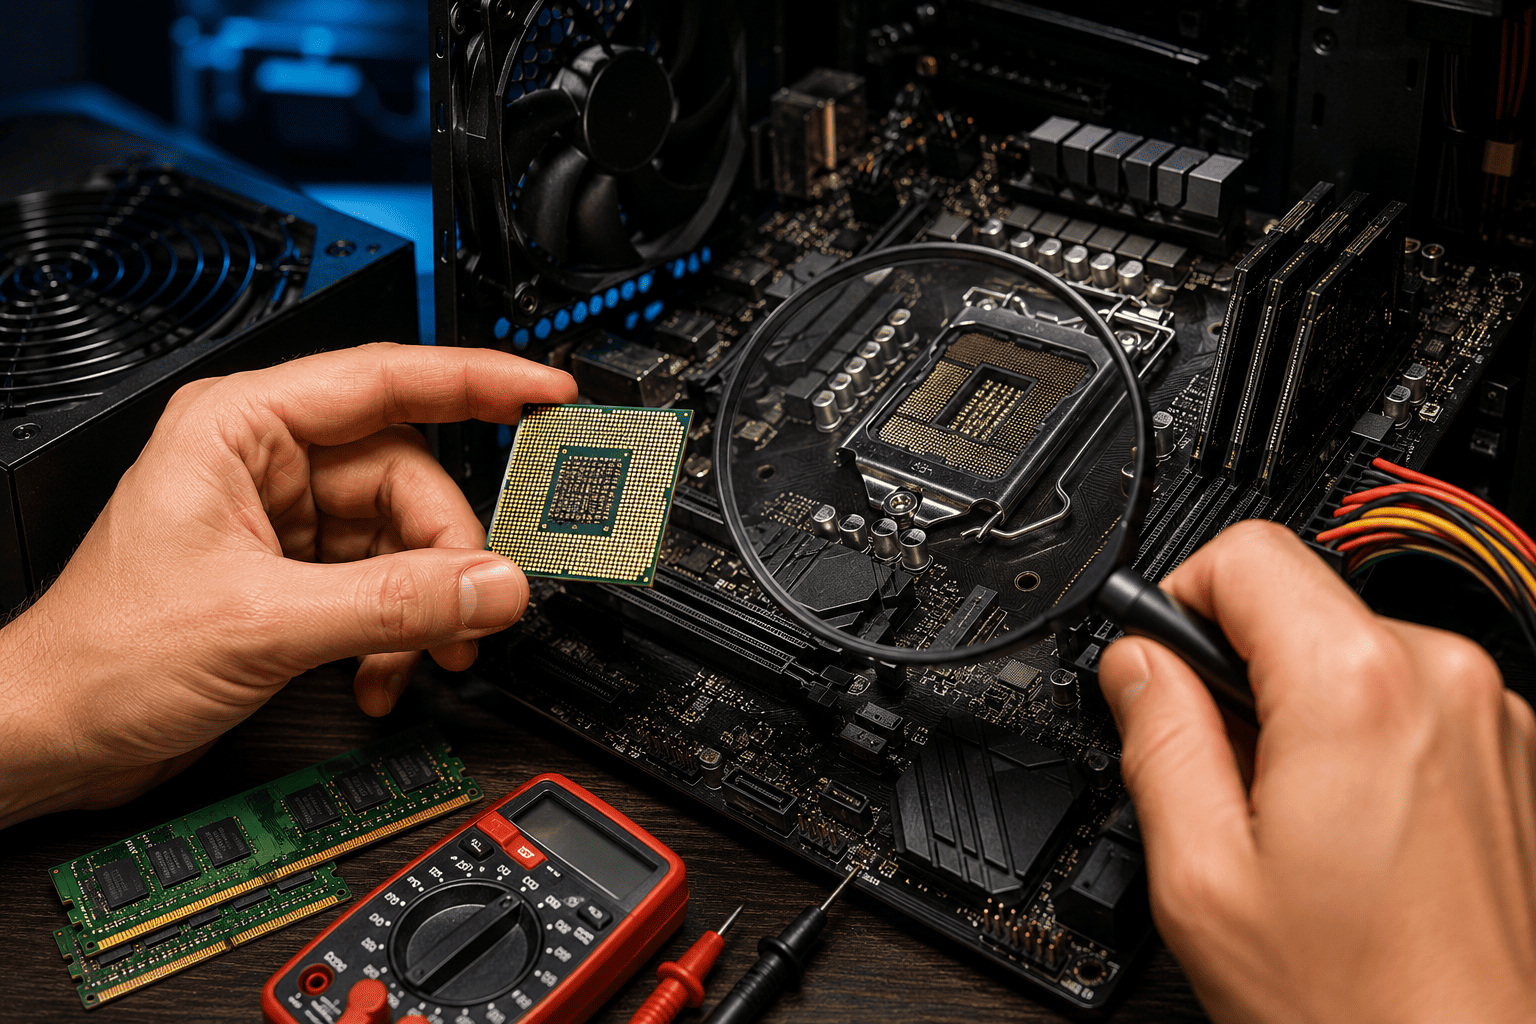
A desktop PC that suddenly stops booting can make the CPU an easy suspect, but CPU failure is actually less common than problems with RAM, power delivery, BIOS settings, or the motherboard.
The good news is that you can perform several checks without having a spare motherboard. By checking POST behavior, CPU power connections, RAM, BIOS indicators, temperatures, and motherboard diagnostic LEDs, you can narrow down whether the CPU is actually faulty or another component is causing the problem.
Problem
The computer powers on but fails to complete POST, shows no display, repeatedly restarts, or appears completely unresponsive. The customer suspects the CPU but doesn't have another compatible motherboard available for testing.
Without another motherboard, the goal is not to immediately declare the CPU dead. Instead, technicians should eliminate other likely causes step by step.
What Problem Is the Customer Facing?
Customers may experience:
- PC powers on but no display appears
- Fans spin but system doesn't boot
- PC repeatedly restarts
- No POST screen
- Motherboard CPU debug LED stays lit
- System freezes during startup
- PC shuts down shortly after powering on
- BIOS cannot be accessed
- System became unstable after a CPU upgrade
- Computer stopped working after overheating or a power event
These symptoms can be caused by the CPU, but they can also originate from the motherboard, RAM, PSU, BIOS, socket, or power connections.
Root Causes of the Problem
A CPU may appear faulty because of:
1. CPU Power Connector Problem
The motherboard's CPU EPS power connector may be loose, disconnected, or incorrectly connected.
2. BIOS Compatibility
A newer CPU may require a BIOS version that the motherboard doesn't currently support.
3. RAM Failure
Bad or incorrectly installed RAM can prevent POST and create symptoms that look like CPU failure.
4. Motherboard Fault
A damaged VRM, socket, chipset, or other motherboard component can prevent the CPU from operating.
5. Bent CPU Socket Pins
On platforms where the motherboard contains the socket contacts, bent pins can interrupt CPU power, memory communication, or other signals.
6. Overheating
A badly mounted cooler, dried thermal compound, failed fan, or blocked heatsink can cause the CPU to overheat and shut down.
7. CPU Damage
CPU failure can occur because of severe overheating, electrical damage, physical damage, or abnormal voltage conditions, although complete CPU failure is relatively uncommon.
How Can Customers Identify the Issue?
Possible warning signs include:
- No POST
- No display
- CPU debug LED remains illuminated
- System repeatedly powers on and off
- BIOS cannot be accessed
- PC shuts down immediately
- CPU temperature rises abnormally quickly
- System crashes under CPU load
- Previously stable PC suddenly stops booting
- Visible socket or CPU damage
- CPU is not detected correctly in BIOS
Important: None of these symptoms alone proves that the CPU is defective.
Possible Solutions
1. Check the PSU and Power Connections
Before testing the CPU, verify:
- 24-pin motherboard connector
- 4/8-pin CPU EPS connector
- PSU switch
- Power cable
- GPU power connections where applicable
A disconnected CPU power connector can produce a completely dead-looking CPU diagnosis.
2. Perform a CMOS Reset
Reset the motherboard's BIOS/UEFI settings according to the motherboard manufacturer's procedure.
This can clear incorrect overclocking, memory, voltage, or boot configuration settings.
3. Boot With Minimum Hardware
Disconnect unnecessary components and attempt a minimal POST configuration:
- Motherboard
- CPU
- CPU cooler
- One compatible RAM module
- PSU
- Integrated graphics if supported
Remove unnecessary USB devices, storage drives, expansion cards, and accessories.
This helps isolate whether another component is preventing POST.
4. Test the RAM
RAM is one of the most important components to eliminate before blaming the CPU.
Try:
- One RAM module at a time
- Recommended motherboard DIMM slot
- Known-good compatible RAM if available
- Reseating the existing RAM
If the system starts after changing the RAM configuration, the CPU may not be the problem.
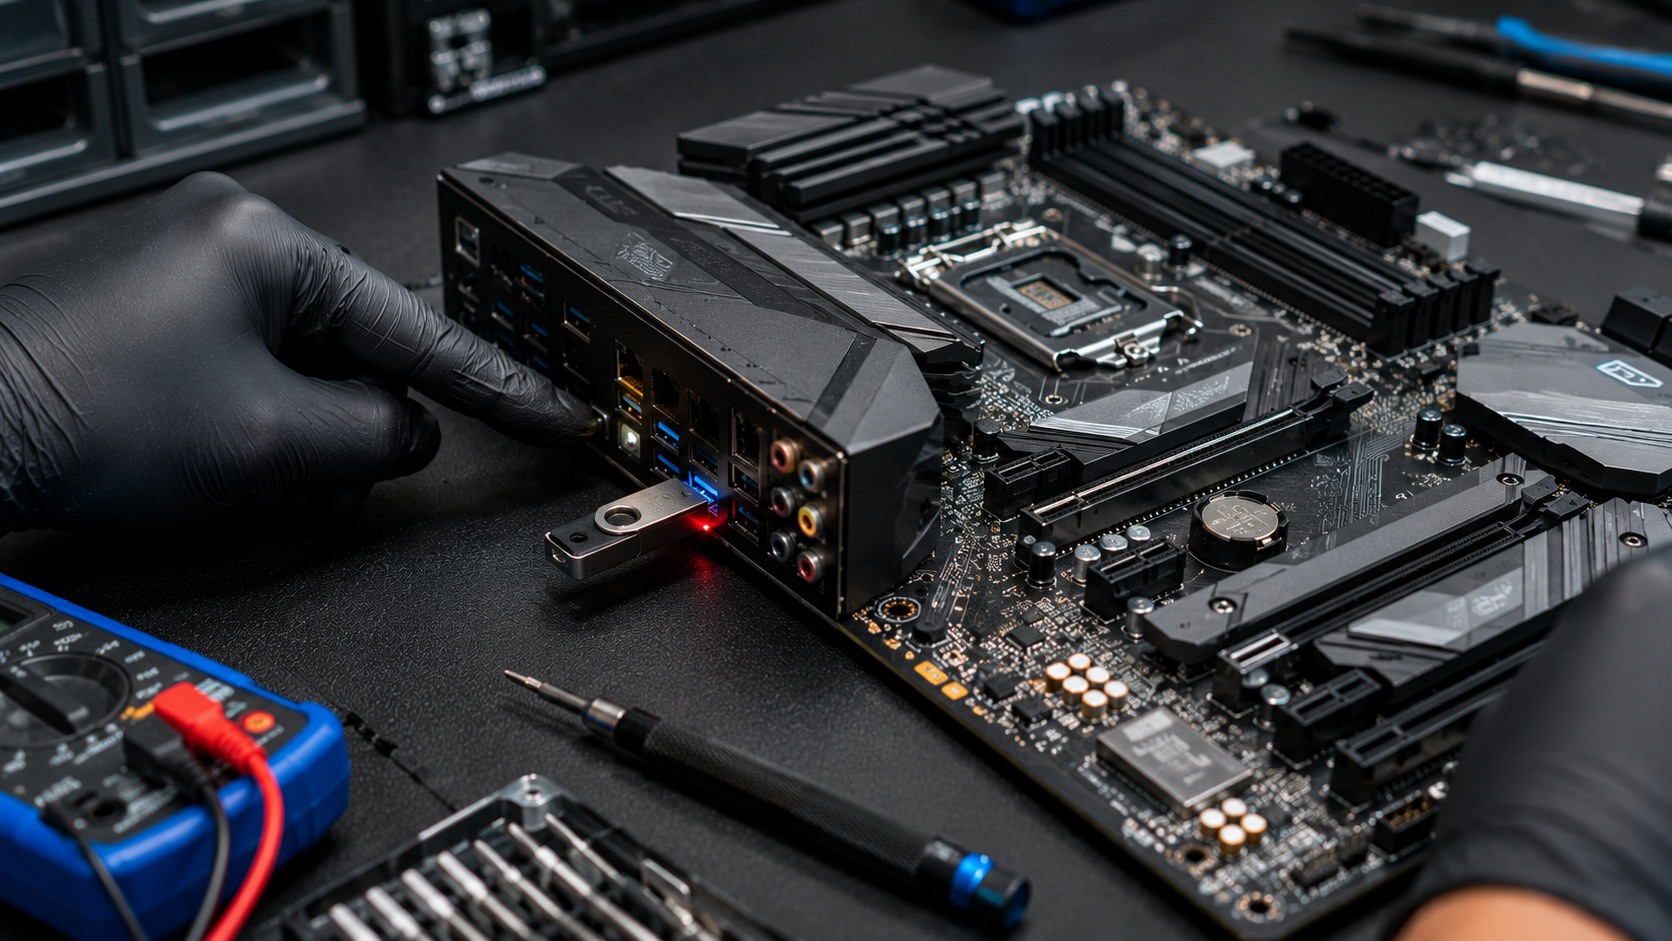
5. Check Motherboard Diagnostic LEDs
Many modern motherboards have POST indicators such as:
- CPU
- DRAM
- VGA
- BOOT
If the CPU LED remains illuminated, investigate CPU power, socket condition, BIOS compatibility, and motherboard power delivery before concluding that the processor has failed.
6. Check CPU Temperature
If the system can reach BIOS, monitor the CPU temperature.
An unusually high temperature immediately after startup can indicate:
- Poor cooler mounting
- Missing or insufficient thermal compound
- CPU fan failure
- Incorrect cooler installation
- Poor heatsink contact
If the temperature rapidly climbs toward unsafe levels, shut the system down and correct the cooling problem.
7. Inspect the CPU Socket
Power down and disconnect the system before inspecting the socket.
Look for:
- Bent socket contacts
- Foreign material
- Dust or debris
- Burn marks
- Physical damage
- Thermal paste contamination
A damaged socket can create CPU-like symptoms even when the processor itself is perfectly functional.
8. Check BIOS Compatibility
If the CPU was recently upgraded, verify that the motherboard BIOS supports that specific processor.
A motherboard may power on but fail to POST if its installed BIOS version does not support the CPU.
9. Check for Previous Overclocking
If the system was overclocked, reset CPU and RAM settings to their default values.
Incorrect:
- CPU voltage
- Multiplier
- Memory frequency
- Memory voltage
- Load-line calibration
can all create instability or prevent POST.
10. Test CPU Stability if the System Boots
If the computer can boot into Windows or another operating system, monitor the system under controlled CPU workloads.
Look for:
- Sudden crashes
- System freezes
- Reboots
- Calculation errors
- WHEA hardware errors
- Abnormal temperatures
A single crash doesn't prove CPU failure. Consistent errors across multiple tests are more useful evidence.
How to Diagnose the CPU Without a Spare Motherboard
Use this troubleshooting sequence:
Power Check → CMOS Reset → Minimum POST → RAM Test → CPU Debug LED → Socket Inspection → BIOS Compatibility → Temperature Check → CPU Stress Test
If the motherboard passes POST, recognizes the CPU correctly, and the system remains stable under controlled testing, the CPU is less likely to be the cause.
If the system still fails after eliminating RAM, PSU, BIOS configuration, socket problems, and other components, professional motherboard and CPU testing may be required.
Why Choose Guru Computer Solution?
Certified Technicians
Our technicians diagnose CPU and motherboard problems systematically instead of replacing expensive components based only on symptoms.
Genuine Parts
When replacement is necessary, we use reliable, compatible components.
Fast Turnaround
We perform structured hardware diagnostics to identify the faulty component efficiently.
Warranty Support
Eligible repair and replacement services come with warranty support.
Affordable Pricing
We test the CPU, RAM, motherboard, PSU, and related components before recommending replacement, helping avoid unnecessary costs.