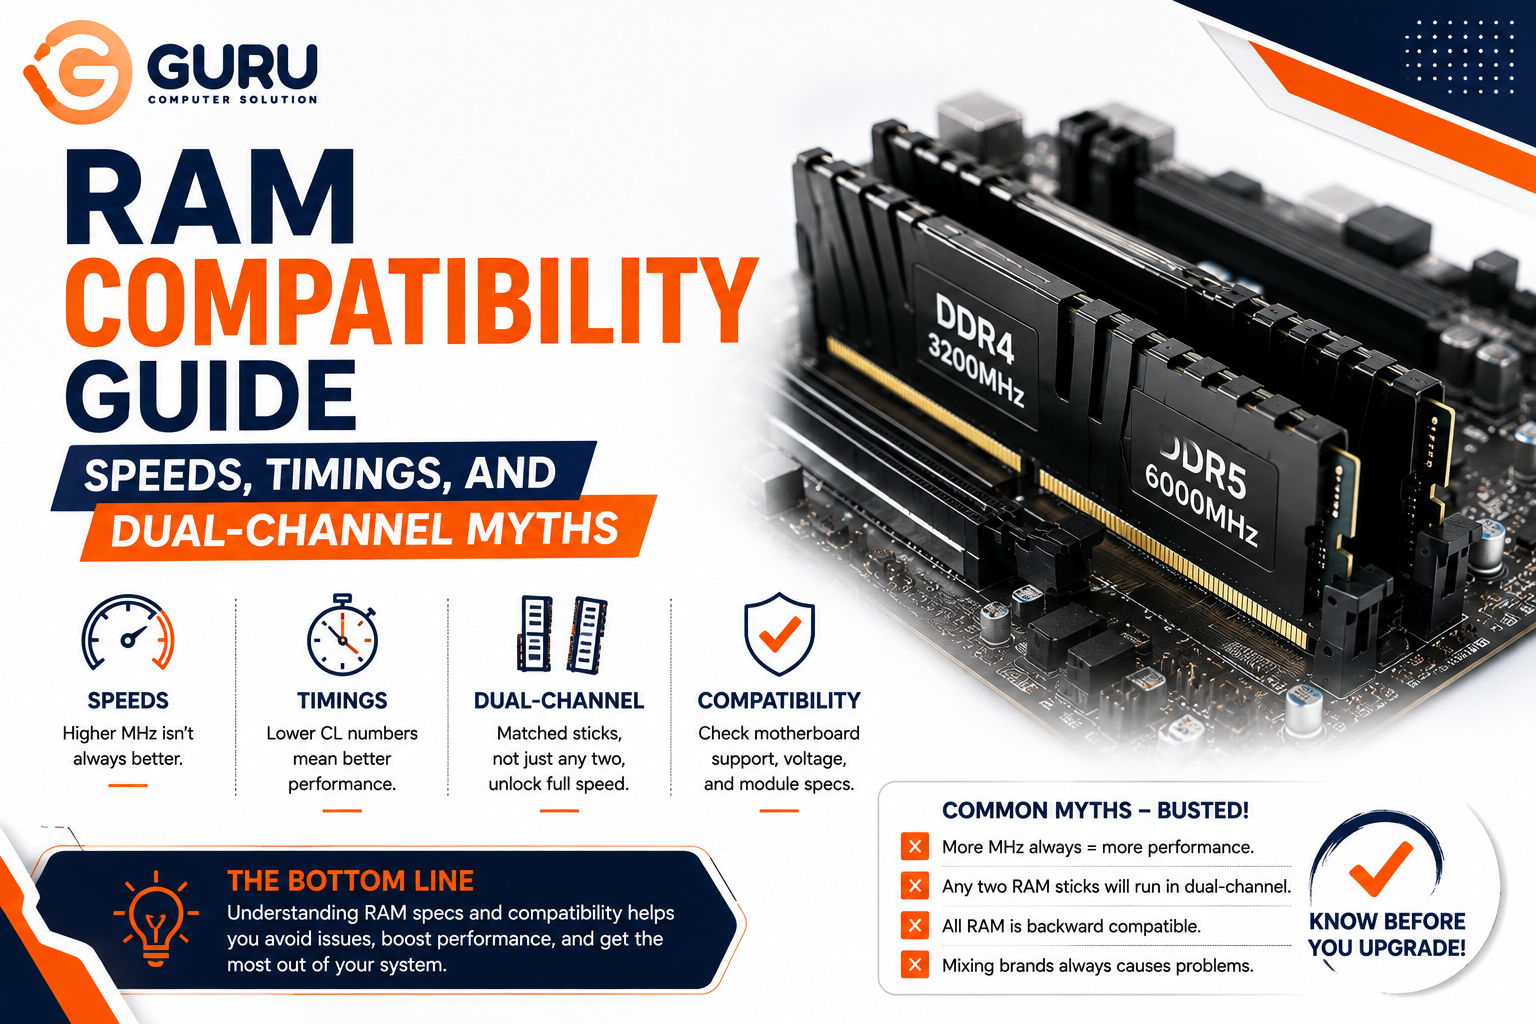
Buy a kit labeled DDR5-6000, install it, boot up — and it's actually running at 4800MHz. Nothing is broken. This is one of the most common and most misunderstood things happening inside PCs and laptops right now, and understanding why explains most of what people get wrong about RAM compatibility, speed, and dual-channel setup.
The Single Most Important Thing to Understand: JEDEC vs. Rated Speed
Every RAM module actually stores two different speed profiles.
JEDEC speed is the conservative, industry-standard baseline every module is guaranteed to run at, on any compatible motherboard, with no configuration needed. For DDR5, this baseline typically starts around 4800MHz. This exists specifically so that any compliant module works predictably out of the box, regardless of brand or platform.
Rated speed — the number printed on the box and the label — is stored in a separate profile (XMP for Intel systems, EXPO for AMD systems) directly on the memory module itself. This profile is not active by default. The system has to be explicitly told to use it.
This is why "fast" RAM often performs like standard RAM out of the box. Without enabling the profile in BIOS, a DDR5-6000 kit runs at its JEDEC default of roughly 4800MHz — meaning a meaningful percentage of the memory bandwidth paid for sits completely unused, with no error, no warning, and nothing that looks obviously wrong.
How to Actually Enable Your RAM's Rated Speed
- Restart and enter BIOS/UEFI (commonly Del or F2 during boot, varies by motherboard brand)
- Locate the memory or overclocking settings menu
- Enable XMP (Intel platforms) or EXPO (AMD platforms) — some motherboards, particularly ASUS boards, may label a similar profile as DOCP
- Select the specific profile matching your kit's rated speed, if more than one option is listed
- Save and restart
- Verify the actual running speed afterward using Task Manager's Performance tab, or a monitoring tool — don't assume the BIOS setting alone confirms it took effect
This is a genuinely simple fix once you know to look for it, which is exactly why it's worth checking on any system you didn't personally configure.
Dual-Channel: What It Actually Requires
Dual-channel memory access lets the system read from two memory modules simultaneously instead of one, meaningfully increasing available bandwidth. But getting it correctly configured depends on more than just "having two sticks installed."
Slot placement matters — a lot. Most motherboards label RAM slots in pairs (commonly A1/A2 and B1/B2, or similarly). Installing two modules in the wrong slot combination — for example, both in the two slots physically closest to the CPU — often results in single-channel operation instead of dual-channel, even though two modules are clearly installed. Always check the motherboard manual for the correct slot pairing rather than assuming adjacent slots are correct.
Matched pairs are the reliable path. A properly matched kit (two identical modules sold together) is validated by the manufacturer to work together at the rated speed and timings. Mixing separately purchased modules — even from the same brand — introduces risk that the memory controller won't stabilize at the intended speed.
Myth #1: "More Sticks Always Means Better Performance"
Not necessarily. Populating four memory slots instead of two puts additional electrical load on the memory controller, which can actually reduce maximum stable speed and overall system stability compared to two higher-capacity modules providing the same total capacity. For pure performance at a given total capacity, two larger modules often outperform four smaller ones.
Myth #2: "Mismatched Capacity Modules Just Work Fine Together"
They'll boot, but not the way most people assume. Installing a 16GB module alongside an 8GB module means the system typically runs in dual-channel mode only for the portion both modules share — 8GB from each — while the remaining 8GB from the larger module operates in slower single-channel mode. The system technically works and reports the full 24GB capacity, but performance across that memory isn't uniform, which surprises people expecting a straightforward capacity boost.
Myth #3: "Any XMP/EXPO Profile Should Work on Mixed Kits"
XMP and EXPO profiles are validated by the manufacturer for a specific, matched kit — not for arbitrary combinations of separately purchased modules, even at the same rated speed. When mixed, unmatched modules are pushed to run a shared profile, the memory controller may fail to stabilize entirely, fall back automatically to the safe JEDEC baseline, or in some cases fail to boot until settings are adjusted manually. This is precisely why memory compatibility lists (QVL — Qualified Vendor List) published by motherboard manufacturers exist, and why checking a board's QVL before mixing or buying additional modules is worth the two minutes it takes.
Myth #4: "A Stale BIOS Doesn't Affect RAM Compatibility"
It does, more than most people expect. An outdated motherboard BIOS is one of the most common reasons XMP or EXPO options go missing entirely from the menu, or behave unpredictably even when present. Memory compatibility lists get revised regularly as manufacturers validate newer modules, and a BIOS update often directly improves memory training stability — worth checking before assuming a RAM kit itself is faulty.
Understanding Timings — Without the Overwhelm
RAM timings (commonly listed as four numbers, such as CL30-38-38-96) represent delays, measured in clock cycles, for specific memory operations. Lower numbers generally mean lower latency and marginally faster response — but only within RAM operating at the same speed. A higher-speed kit with slightly looser timings frequently outperforms a lower-speed kit with tighter timings, since the higher effective data rate matters more overall.
The primary timing that matters most for everyday use is CAS Latency (CL) — the first number listed, and generally the most impactful of the four on real-world responsiveness.
For most users, manually tuning timings isn't necessary. Enabling XMP/EXPO already applies the manufacturer-validated timing profile matched to that speed. Manual timing adjustment is genuinely an advanced-user activity — it can yield a modest additional performance gain, but it also introduces real stability risk if pushed too aggressively, and isn't something to attempt without willingness to troubleshoot boot failures.
DDR Generation Compatibility: The One Mistake That's Physically Impossible
Unlike most compatibility questions on this list, generation mismatches solve themselves at the hardware level. DDR4 and DDR5 modules have different physical notch positions on the connector, making it physically impossible to install the wrong generation into an incompatible slot without deliberately forcing it — which risks damaging the slot rather than "almost working." Always confirm your motherboard's supported RAM generation before ordering, since this is the one compatibility check with zero tolerance for error.
A Quick Diagnostic Checklist
If your system doesn't seem to be running RAM at the expected speed or channel configuration:
Speed shows the JEDEC default instead of the rated speed → XMP/EXPO is not enabled; enable it in BIOS.
Channel configuration shows single channel with two modules installed → check slot placement against the motherboard manual; modules are very likely in the wrong slot pairing.
System won't boot after adding a second module → check whether the two modules are actually a validated matched kit, and confirm the board's QVL for that memory before assuming a hardware fault.
XMP/EXPO options are missing from BIOS entirely → check for a motherboard BIOS update; this is one of the most common causes.
Speed drops after adding more modules → This can be expected behavior with four populated slots rather than two; verify against your motherboard's documented maximum stable speed at that specific configuration.
Why Choose Guru Computer Solution
Proper RAM Diagnosis, Not Just a Swap: We identify whether a "RAM issue" is actually a configuration problem (channel, XMP/EXPO, slot placement) before assuming a module has failed.
Compatibility Verification Before Purchase: We check your motherboard's QVL and existing configuration before recommending additional or replacement RAM, avoiding a mismatched purchase.
BIOS Configuration Included: When we install or upgrade RAM, we verify actual running speed and channel configuration before handing the system back — not just confirming it powers on.
Stability Testing: We run proper memory diagnostics after any RAM change, catching instability before it becomes an intermittent, hard-to-diagnose problem later.
Conclusion
Most RAM "problems" aren't hardware failures at all — they're configuration issues hiding behind a system that boots normally and shows no obvious error. Fast RAM running at JEDEC default speed, two sticks accidentally running in single-channel, or a mismatched capacity pair delivering less bandwidth than expected are all far more common than actual defective modules. Understanding the real mechanics — JEDEC vs. rated speed, correct slot placement, and matched-kit reliability — is what separates getting the performance you actually paid for from silently leaving it on the table.
If you're not sure whether your system is running RAM at its full potential, or you're planning a memory upgrade and want to avoid a compatibility mismatch, contact Guru Computer Solution for a proper diagnosis and configuration check.